Welcome to the third installment of my new Armada article series! This edition is going to focus on my recent painting experience with all my Imperial Squadrons. I ended up purchasing two of the booster packs, so I had 48 fighters to paint. Now, I am not the best or most experienced miniatures painter out there, but I think for my skill level, and time put into them they turned out nicely. I am sure there are people out there with much better tutorials for those of you looking for a bit more detail, but this is a short write up of how I did mine! Enjoy!

So, here is a picture of all the paints I used. I really have to say that the Games Workshop paints are amazingly nice to work with compared to some of the cheaper paints out there, but any acrylic paint should work if you don’t want to use the ones in the picture.

I started off with a spray coating of just regular gray primer from Testors that you can pick up just about anywhere, and made sure I had a nice even coat on all the minis. This was definitely the fastest part of the whole process. Onto details!

So, the next step was adding black and painting in all the panels on the TIE Fighters. This took quite awhile, especially on the smaller TIE Advanced models and the Interceptors.

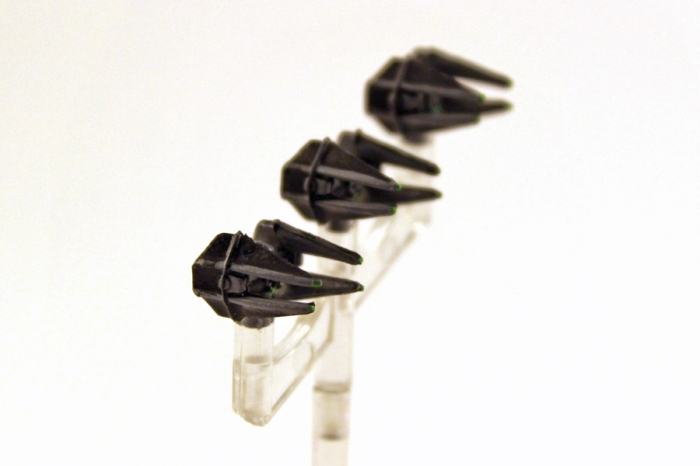
Here is a batch complete before putting the Nuln Oil Wash (talent in a bottle) on them. The 3 Royal Guard Interceptors are probably my favorite out of the bunch as they turned out a lot better than I had thought they would. At this point, all I did was wash them with the Nuln Oil, and then add a little blue to the engines, and painted the laser cannons on the ships. It was really hard to get good images of the details while at the paint bench. Once all the details were added, I used the flat clear coat as a final layer of protection for the miniatures.

Waiting on the wash to dry a bit before detailing. The wash really brings out the details such as the cockpit on these small things.
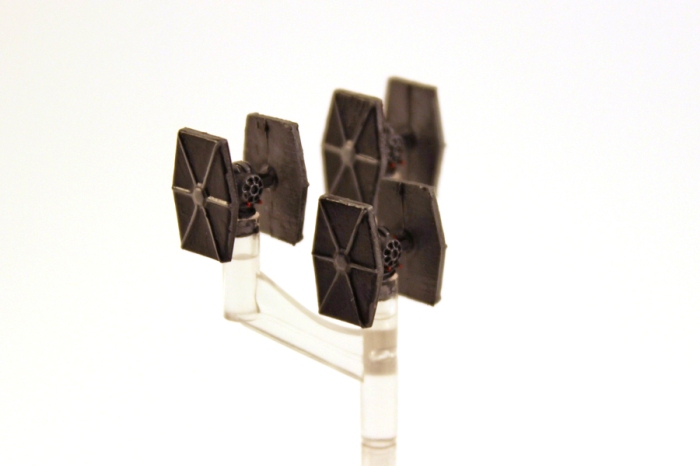
Below are a few pictures of the completed models. The details show up well, and look great on the table. Up close, you can see a lot of stray lines from my not so precise painting abilities (in my defense… these things are SMALL!), but they are not noticeable at all while playing with the models. I plan on trying to get my Rebel squadrons painted soon, and will try to get some good pictures of those. The pictures below were taken with my home made DIY Lightbox.